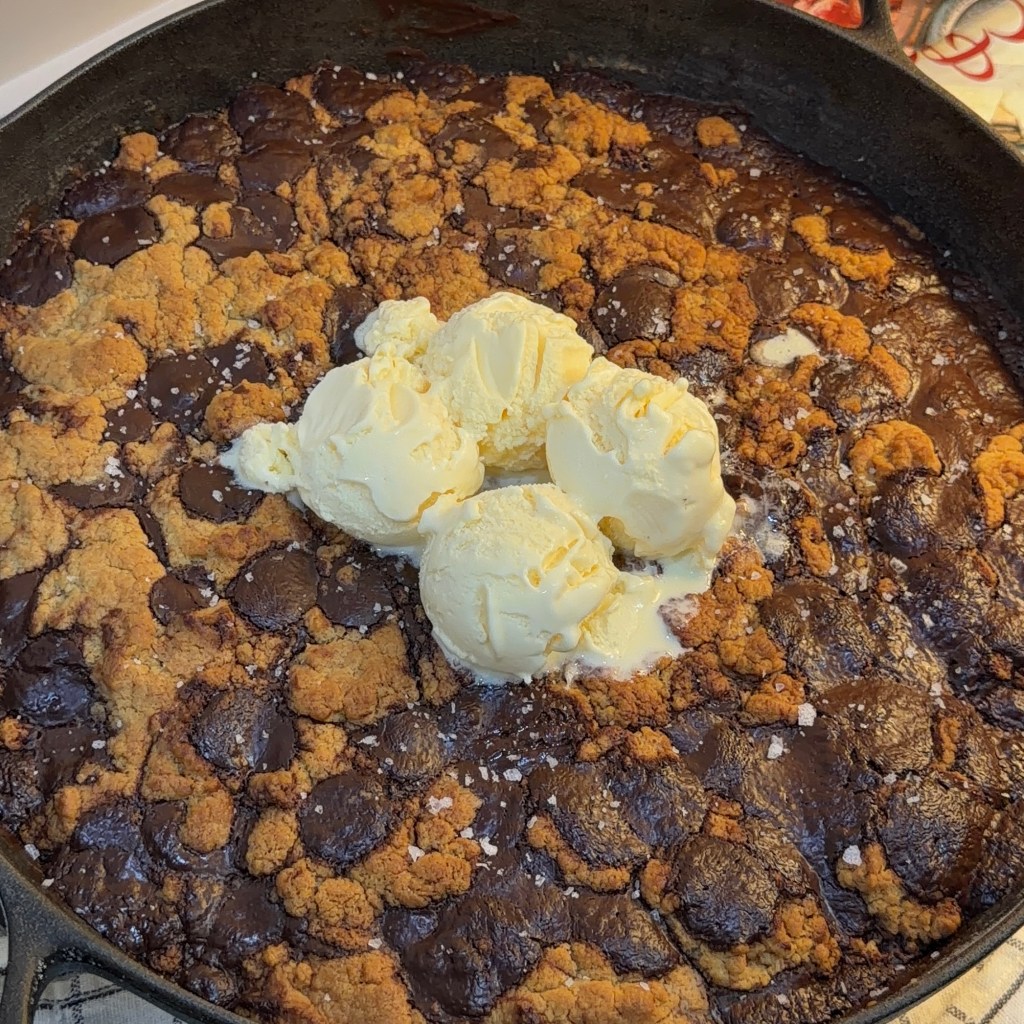
This foolproof Chocolate Chip Skillet Cookie has crisp golden edges, a rich caramel-like flavour from the browned butter, and a soft centre packed with melted chocolate in every bite. It comes together with simple pantry ingredients and is baked in one skillet, making it the perfect dessert to share (or keep all to yourself). Best enjoyed warm with sprinkles of flaky salt and a generous scoop of vanilla ice cream.
INGREDIENTS
Dry ingredients (Sift Together)
- 2 cups (250g) all-purpose flour
- 2 tsp baking powder
- 1 tsp baking soda
- 1 tsp salt
Wet ingredients
- 250g unsalted butter
- ½ cup brown sugar
- ½ cup caster sugar
- 2 tsp vanilla essence
- 2 large eggs
- 2½ cups chocolate chips, chunks or buttons
To serve (optional)
- Vanilla ice cream
- Flaky sea salt
HOW TO MAKE IT
- Preheat your oven to 180°C.
- Place your skillet over low heat and melt the butter. Continue cooking, stirring occasionally, until the butter foams and the milk solids turn golden brown. You’ll know it’s ready when it smells nutty and you can see little brown specks at the bottom of the pan. Remove from the heat immediately and let it cool for about 10 minutes.
- Add the brown sugar, caster sugar and vanilla to the browned butter. Stir until well combined.
- Whisk in the eggs one at a time until smooth. If the butter is still very hot, allow it to cool a little longer before adding the eggs to prevent them from scrambling.
- Sift together the flour, baking powder, baking soda and salt, then fold the dry ingredients into the wet ingredients until just combined. Do not overmix.
- Fold in the chocolate chips until evenly distributed.
- Spread the dough evenly in the skillet and bake for 18–20 minutes, or until the edges are golden brown and crisp while the centre still looks slightly underbaked.
- Allow the cookie to rest for 5–10 minutes before serving. Enjoy warm on its own or with a scoop of vanilla ice cream and a sprinkle of flaky sea salt.
Watch the video HERE.
FAQ
1. Can I make this without a skillet?
Yes! Simply brown the butter in a saucepan, then transfer it to a mixing bowl and continue with the recipe as written. Bake in a 10-inch round cake tin, square baking pan or any similar-sized ovenproof dish.
2. Can I make this in an air fryer?
Absolutely. Transfer the cookie dough into an air fryer-safe baking pan that fits your basket and air fry at 160°C for 14–18 minutes. Check from the 12-minute mark onwards, as every air fryer cooks slightly differently. The edges should be golden while the centre remains slightly soft.
3. Why does the centre still look underbaked?
That’s exactly what you’re after! The cookie will continue cooking from the residual heat as it rests, leaving you with crisp edges and a perfectly gooey centre.
4. Can I use different types of chocolate?
Of course! Milk, dark, semi-sweet or a combination of all three work beautifully in this recipe.
5. Can I make this ahead of time?
Yes! You have two options. You can prepare the cookie dough up to 24 hours in advance and refrigerate it until you’re ready to bake. Let it sit at room temperature for 20–30 minutes before baking, adding an extra 1–2 minutes if needed. Alternatively, you can bake the cookie a day ahead and simply warm it in a 160°C oven for 5–8 minutes before serving. It’s especially delicious served warm with a scoop of vanilla ice cream.
6. Can I use self-raising flour instead?
Yes! Replace the plain flour and baking powder with 2 cups self-raising flour, but still add ½ teaspoon baking soda and 1 teaspoon salt. The texture may be slightly softer, but it’ll still turn out delicious.
7. How do I store leftovers?
Store any leftovers in an airtight container at room temperature for up to 2 days, or refrigerate for up to 5 days. Warm individual portions in the microwave for about 15–20 seconds before serving.

